How to set up a desktop PC
Step one:
Have the tower of your PC with the back facing in the light with no cables or any device plugged in.
Have the tower of your PC with the back facing in the light with no cables or any device plugged in.

Step two:
get hold of the power supply cable, find the end that is shaped like the one in the image, and then insert it in to the same shaped port in the back of the PC tower.
get hold of the power supply cable, find the end that is shaped like the one in the image, and then insert it in to the same shaped port in the back of the PC tower.

|

|
Step three:
Get hold of the chosen display unit that you have for your PC, then turn it around and look at all the ports at the back (make sure no cables are in the display as this point).
Get hold of the chosen display unit that you have for your PC, then turn it around and look at all the ports at the back (make sure no cables are in the display as this point).

|

|
Step four:
Get hold of the power cable for your monitor and plug it in to the required port.
Get hold of the power cable for your monitor and plug it in to the required port.

|

|
Step five:
After completing step 4 you need to get hold of the display cable and then put in into the display port in the back of the monitor, then do the same for on the back of the PC tower
After completing step 4 you need to get hold of the display cable and then put in into the display port in the back of the monitor, then do the same for on the back of the PC tower


|


|
Step six:
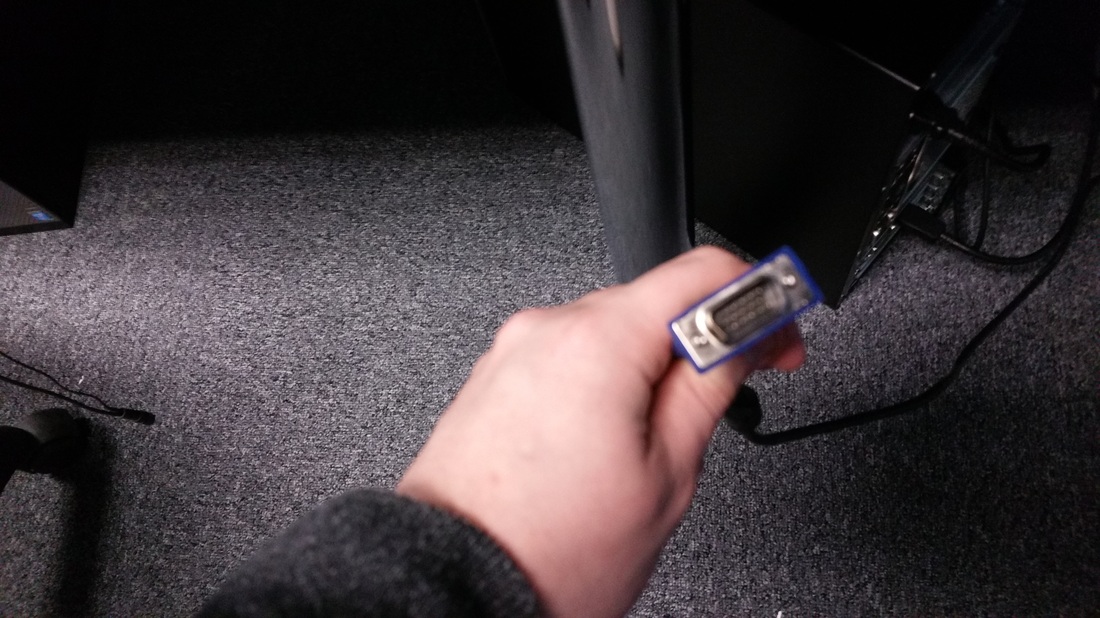
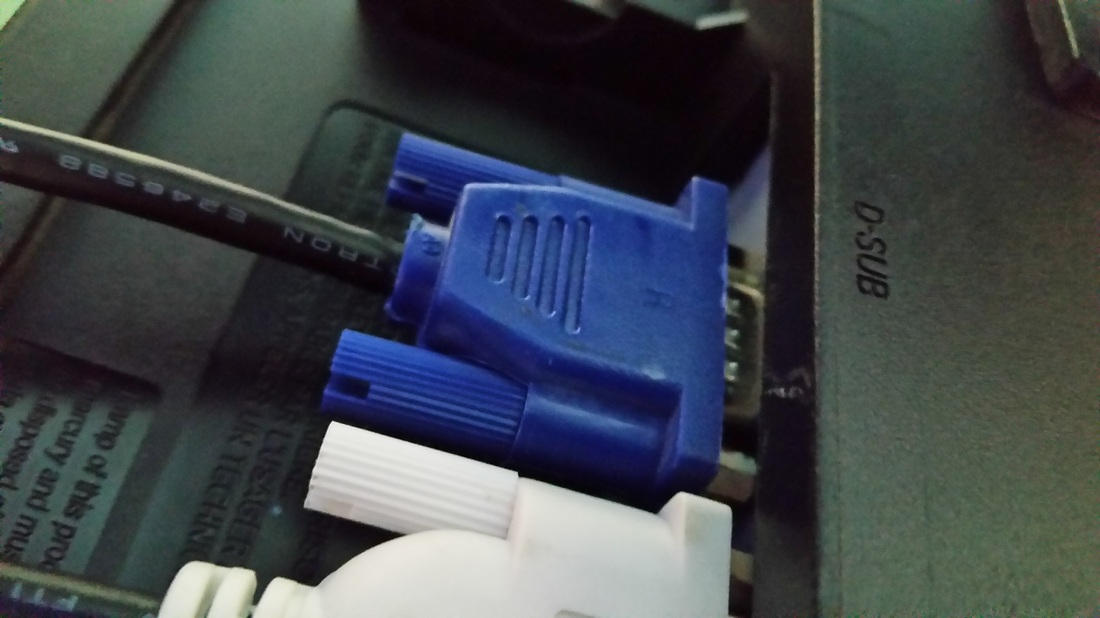
Next grab hold of the VGA cable (the blue one on the image) and plug it in to the matching port on the PC tower and then do the same for the display, make sure that you screw both sides of the VGA cable at each end so that it does not fall out while in use, there's nothing like being in a really heated up game on-line and the something like a cable coming out.
Next grab hold of the VGA cable (the blue one on the image) and plug it in to the matching port on the PC tower and then do the same for the display, make sure that you screw both sides of the VGA cable at each end so that it does not fall out while in use, there's nothing like being in a really heated up game on-line and the something like a cable coming out.

|

|
Step seven:
Get hold of the mouse and keyboard that you are going to use with your PC and find the USB port at the end of the cable and plug them in to the USB ports on the back of the PC tower.
Get hold of the mouse and keyboard that you are going to use with your PC and find the USB port at the end of the cable and plug them in to the USB ports on the back of the PC tower.

|

|

|

|
Step eight:
After all cables have been connected following steps 1-7, you need to turn on the PC and this can be done by making sure the plug socket is on and then pressing the power button on the PC tower. while the PC is turning on you should make sure the Display is turned on as well so you can see the PC at work, once both are on the display screen should show some start up images.
After all cables have been connected following steps 1-7, you need to turn on the PC and this can be done by making sure the plug socket is on and then pressing the power button on the PC tower. while the PC is turning on you should make sure the Display is turned on as well so you can see the PC at work, once both are on the display screen should show some start up images.

|

|

Step nine:
Once the PC loads up it should ask for a password and username so you can log in to your account (that's if you PC is password protected) if it does not come up like this and it displays setting configurations like selecting a language, just follow the steps it gives or answer the questions the PC asks.
Once the PC loads up it should ask for a password and username so you can log in to your account (that's if you PC is password protected) if it does not come up like this and it displays setting configurations like selecting a language, just follow the steps it gives or answer the questions the PC asks.

|

|
Step ten:
when the desktop is fully loaded and you are able to open applications, open up Google Chrome, this is so you can download a application that allows you to purchase games online through the application. once Google Chrome loads you need to type in "www.steampowered.com" in to the browser.
when the desktop is fully loaded and you are able to open applications, open up Google Chrome, this is so you can download a application that allows you to purchase games online through the application. once Google Chrome loads you need to type in "www.steampowered.com" in to the browser.

Step 11:
Once the window loads fully it should display the Steam website from here we can download the application. To download Steam you need to click on the green button that is near the top of the screen that says "Install Steam".
Once the window loads fully it should display the Steam website from here we can download the application. To download Steam you need to click on the green button that is near the top of the screen that says "Install Steam".

|

|
Step 12:
When you have clicked the green button to install Steam a SteamSetup.exe file will appear in the downloads section of the window, if this has appeared double click of the download to open the file and Steam should begin to install, and then you just follow all the instructions that Steam gives you and answer all the question it asks you.
When you have clicked the green button to install Steam a SteamSetup.exe file will appear in the downloads section of the window, if this has appeared double click of the download to open the file and Steam should begin to install, and then you just follow all the instructions that Steam gives you and answer all the question it asks you.

Configuring game settings
Step one:
To configure settings on a game you need to first locate the options button, for this example I will use Minecraft as it is a simple game that is easy to get hold of and it is a very popular game as well, after locating the options button you will need to press it.
To configure settings on a game you need to first locate the options button, for this example I will use Minecraft as it is a simple game that is easy to get hold of and it is a very popular game as well, after locating the options button you will need to press it.

Step two:
Once you have selected the options button you may choose what settings you wish to modify (Note changing these settings will affect your game play / game performance) for this example I an going to go in to Video settings first.
Once you have selected the options button you may choose what settings you wish to modify (Note changing these settings will affect your game play / game performance) for this example I an going to go in to Video settings first.

Step three:
After selecting the Video settings the game should display all the settings associated with the video quality, when modifying these settings you will notice changes in your games performance. It is recommended that you reduce your settings to minimum points if you game is experiencing performance issues this is because by reducing the settings it helps the PC perform faster with less tasks to take out.
After selecting the Video settings the game should display all the settings associated with the video quality, when modifying these settings you will notice changes in your games performance. It is recommended that you reduce your settings to minimum points if you game is experiencing performance issues this is because by reducing the settings it helps the PC perform faster with less tasks to take out.

Step four:
After completing the Video settings and changing them to suit your PC you should also check your music setting these setting do not affect your PCs performance as mush as Video settings do so you can take less care in the choice of settings that you use.
After completing the Video settings and changing them to suit your PC you should also check your music setting these setting do not affect your PCs performance as mush as Video settings do so you can take less care in the choice of settings that you use.

Step five:
Finally, you can check out all of the controls of a game in the controls option in options, changing the controls for a game may benefit you if you prefer controls being I a certain way, this type of setting can be fully customised to suit your own needs so I recommend testing different control lay outs to determine one that works for you personally .
Finally, you can check out all of the controls of a game in the controls option in options, changing the controls for a game may benefit you if you prefer controls being I a certain way, this type of setting can be fully customised to suit your own needs so I recommend testing different control lay outs to determine one that works for you personally .

Connecting to multiplayer
Step one:
To access multi-player on games you need to be first connected to the internet, unless you are running a LAN server which can be done in single-player, to get on to multi-player you need to select the multi-player option in the main menu.
To access multi-player on games you need to be first connected to the internet, unless you are running a LAN server which can be done in single-player, to get on to multi-player you need to select the multi-player option in the main menu.

Step two:
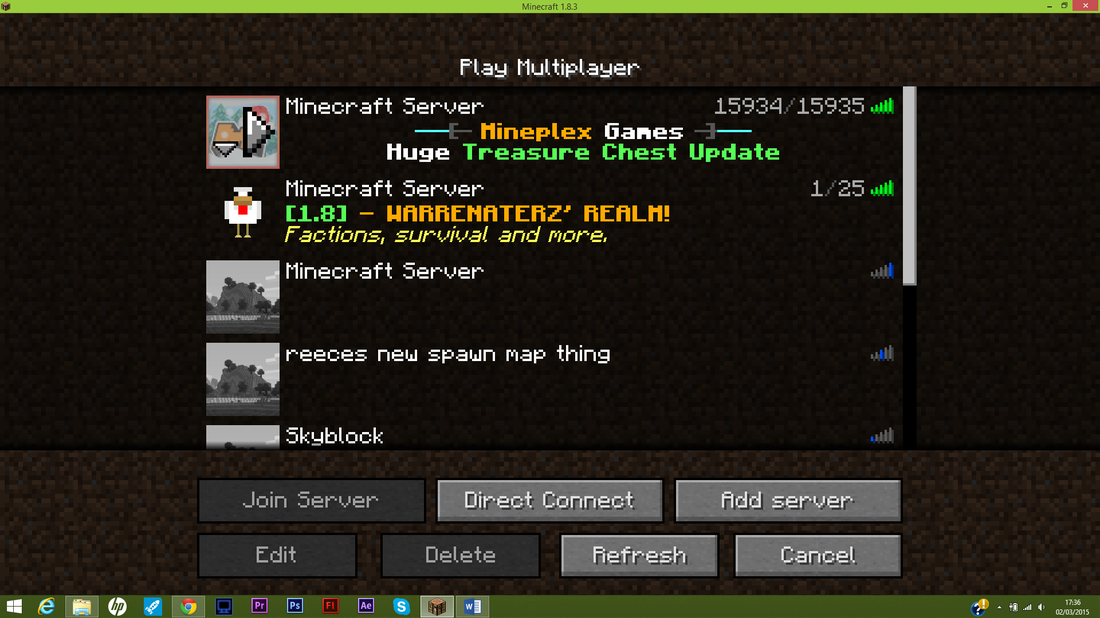
Once you select multi-player you can add, edit and delete servers from your list of connected servers, you can go on line and find server IPs so that you can join then on a game. so if you have added a server select it if you wish to go on it and you can do that by double clicking on the server you wish to join.
Once you select multi-player you can add, edit and delete servers from your list of connected servers, you can go on line and find server IPs so that you can join then on a game. so if you have added a server select it if you wish to go on it and you can do that by double clicking on the server you wish to join.
Step three:
When you double click on the server you want to join the server will begin to load your data for that server, if it is the first lime joining a server then you might have to wait a little longer the others that have joined before as the server has to generate new data for you but after the first time you join all the server has to do is open your data file.
When you double click on the server you want to join the server will begin to load your data for that server, if it is the first lime joining a server then you might have to wait a little longer the others that have joined before as the server has to generate new data for you but after the first time you join all the server has to do is open your data file.

Step four:
Once the server loads your data you are free to roam around the server and have fun. to leave a server just press ESC and then "Disconnect"
Once the server loads your data you are free to roam around the server and have fun. to leave a server just press ESC and then "Disconnect"

Installing a driver for a graphics tab
Step one:
The first step to installing a driver is to first put the installation disk in the dick drive of the PC and it should begin loading the disk, if it does not load go to your file browser and then to "This PC" or "My PC" and the disk should be there and all you do is double click on it.
The first step to installing a driver is to first put the installation disk in the dick drive of the PC and it should begin loading the disk, if it does not load go to your file browser and then to "This PC" or "My PC" and the disk should be there and all you do is double click on it.

|

|
Step two:
When the Installation disk loads it should display something similar to what is displayed in the image. if it has, click on the button to install the device.
When the Installation disk loads it should display something similar to what is displayed in the image. if it has, click on the button to install the device.

Step three:
Once you start the installation process it should display and ask a few question so that the device can be calibrated to suit you.
Once you start the installation process it should display and ask a few question so that the device can be calibrated to suit you.

Step four:
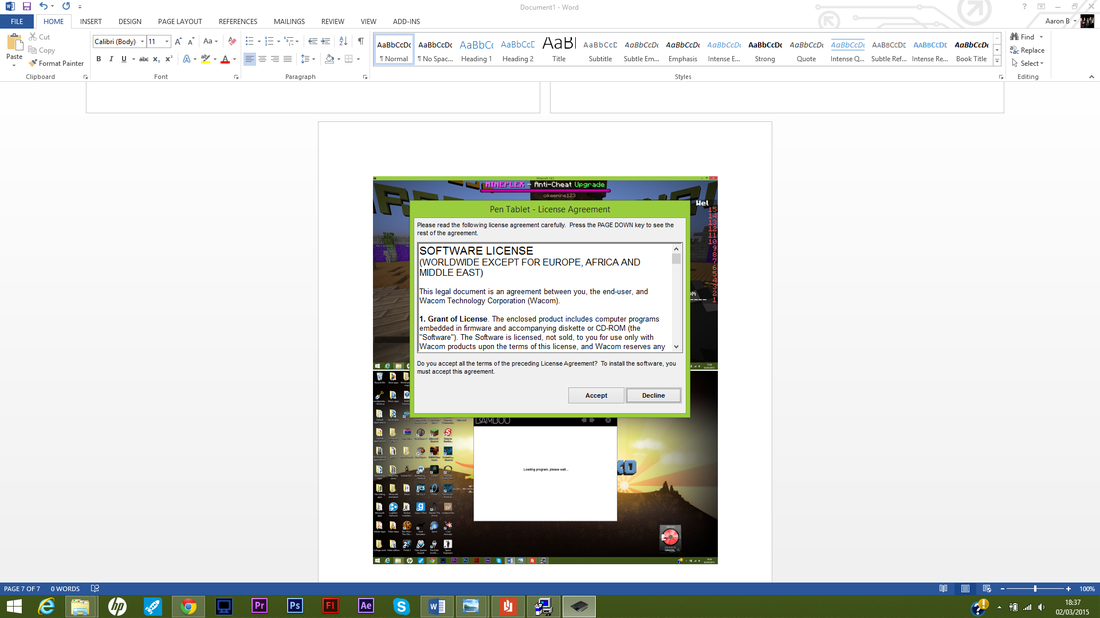
Soon after all the configurations have been completed you should be able to see a loading message and this should soon lead on to a licencing agreement.
Soon after all the configurations have been completed you should be able to see a loading message and this should soon lead on to a licencing agreement.

Step five:
Once the Licencing agreement has appeared you will have to read and accept the terms and conditions of the software use or you will not be able to continue installing the software that is for the device.
Once the Licencing agreement has appeared you will have to read and accept the terms and conditions of the software use or you will not be able to continue installing the software that is for the device.
Step six:
After you have accepted the agreement you will see a loading bar appear and this is showing that the software is being installed.
After you have accepted the agreement you will see a loading bar appear and this is showing that the software is being installed.


Step seven:
Once installed a message saying that it has been successfully been installed should show up and after being installed it is recommend that you re-start your PC so that the software can be fully installed, but after this message appears you are done and the driver is installed.
Once installed a message saying that it has been successfully been installed should show up and after being installed it is recommend that you re-start your PC so that the software can be fully installed, but after this message appears you are done and the driver is installed.

